How to use

the Shooting Day?

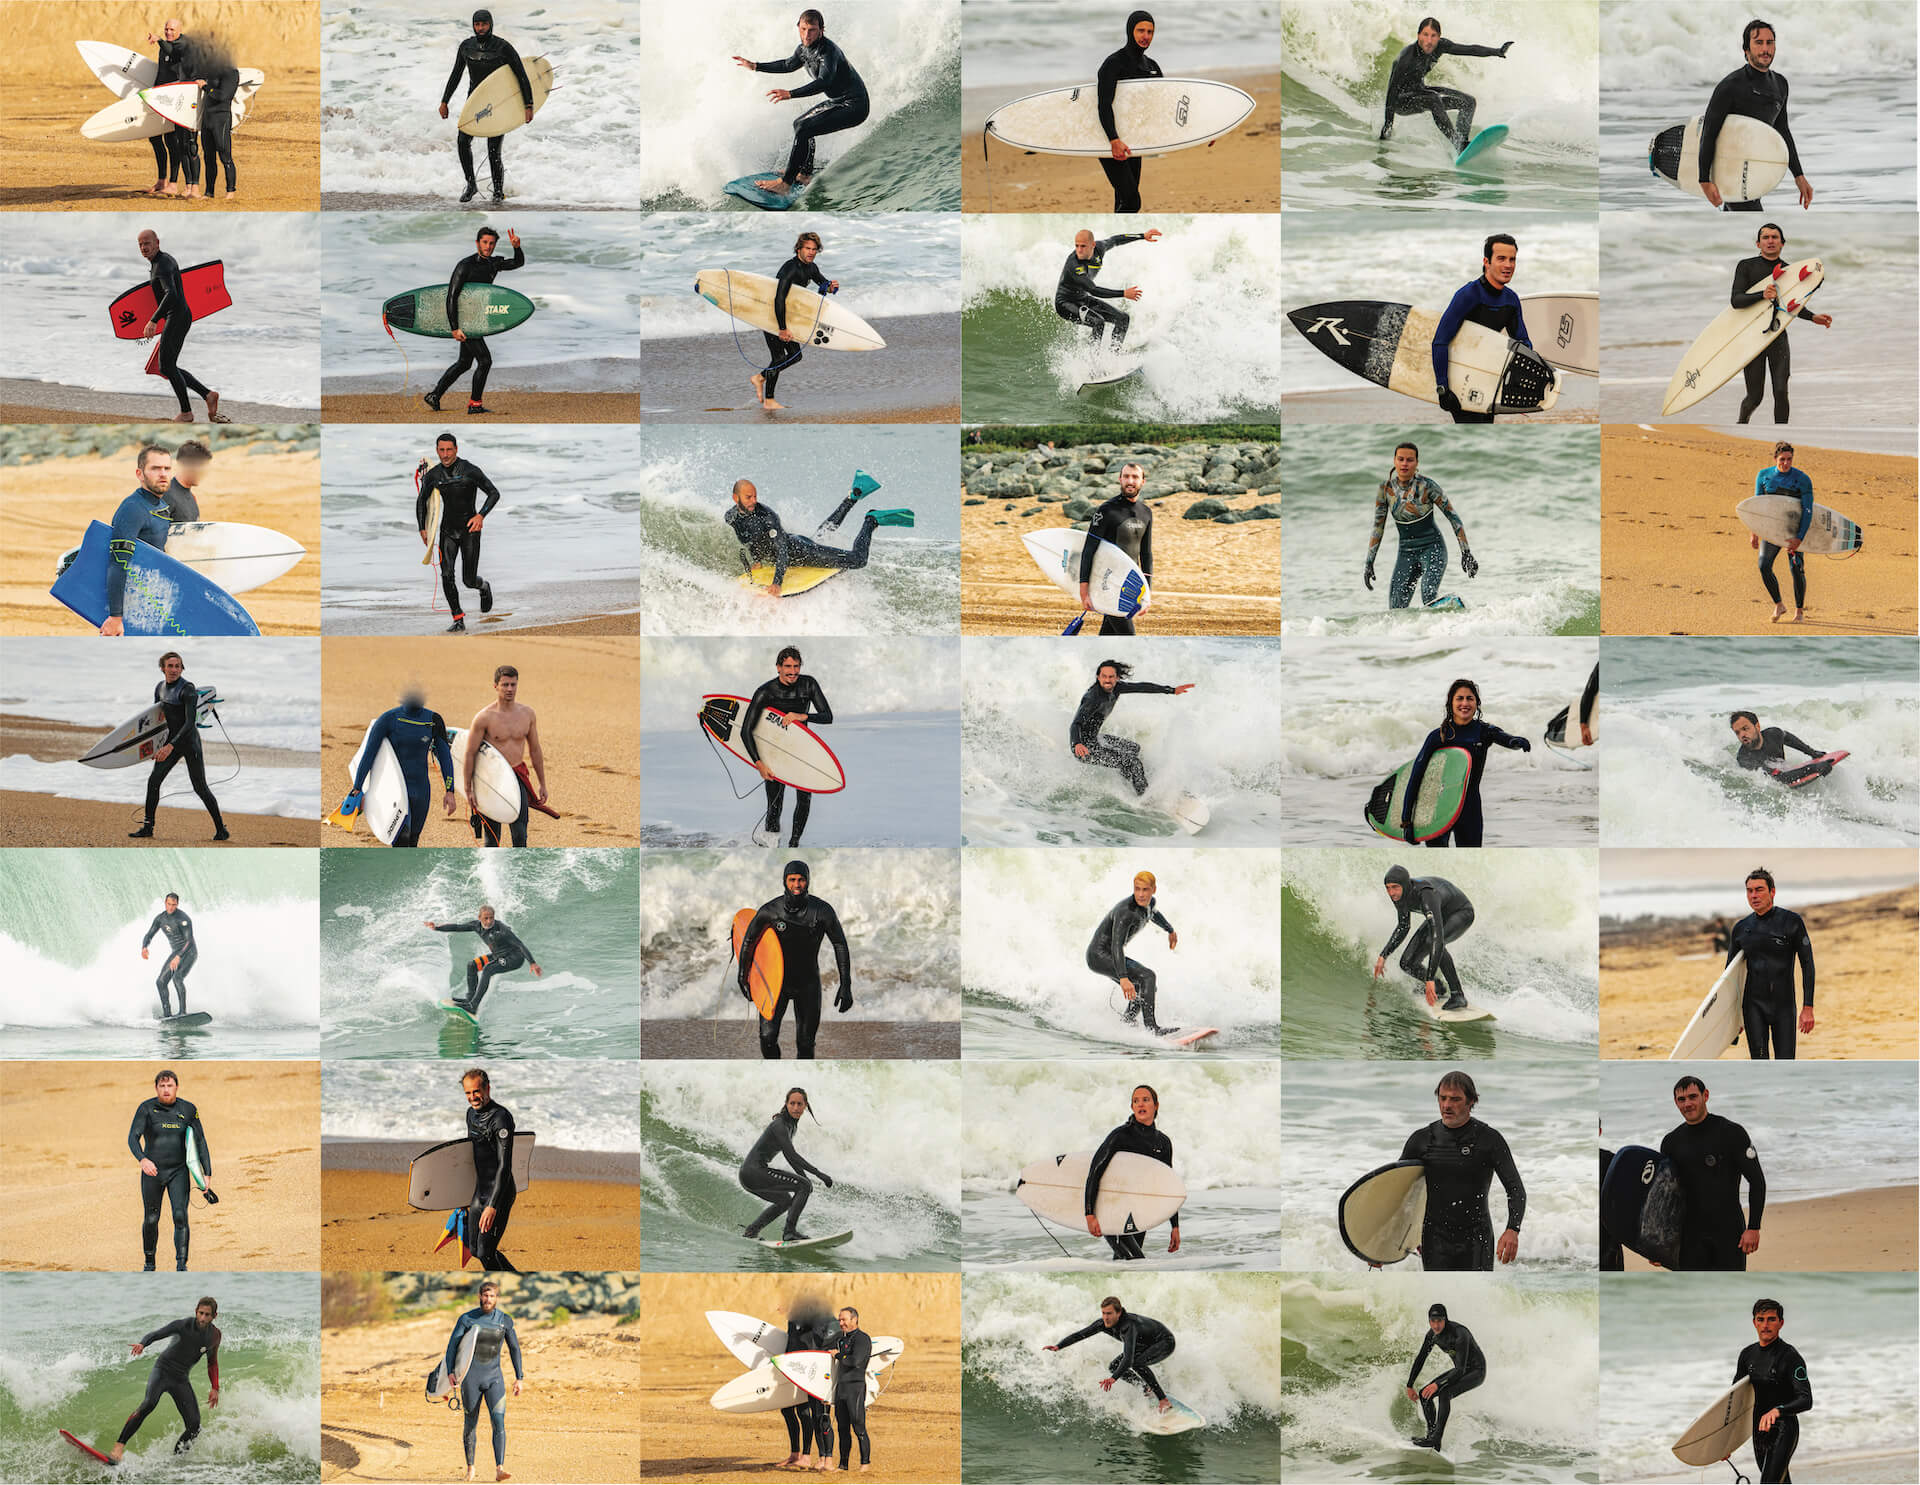
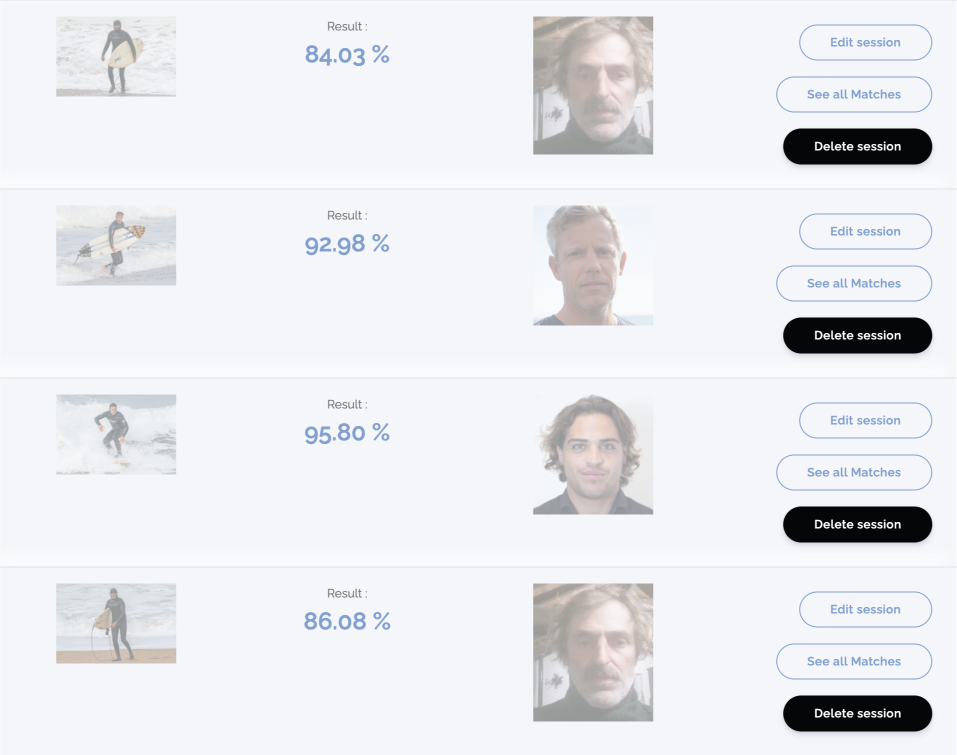
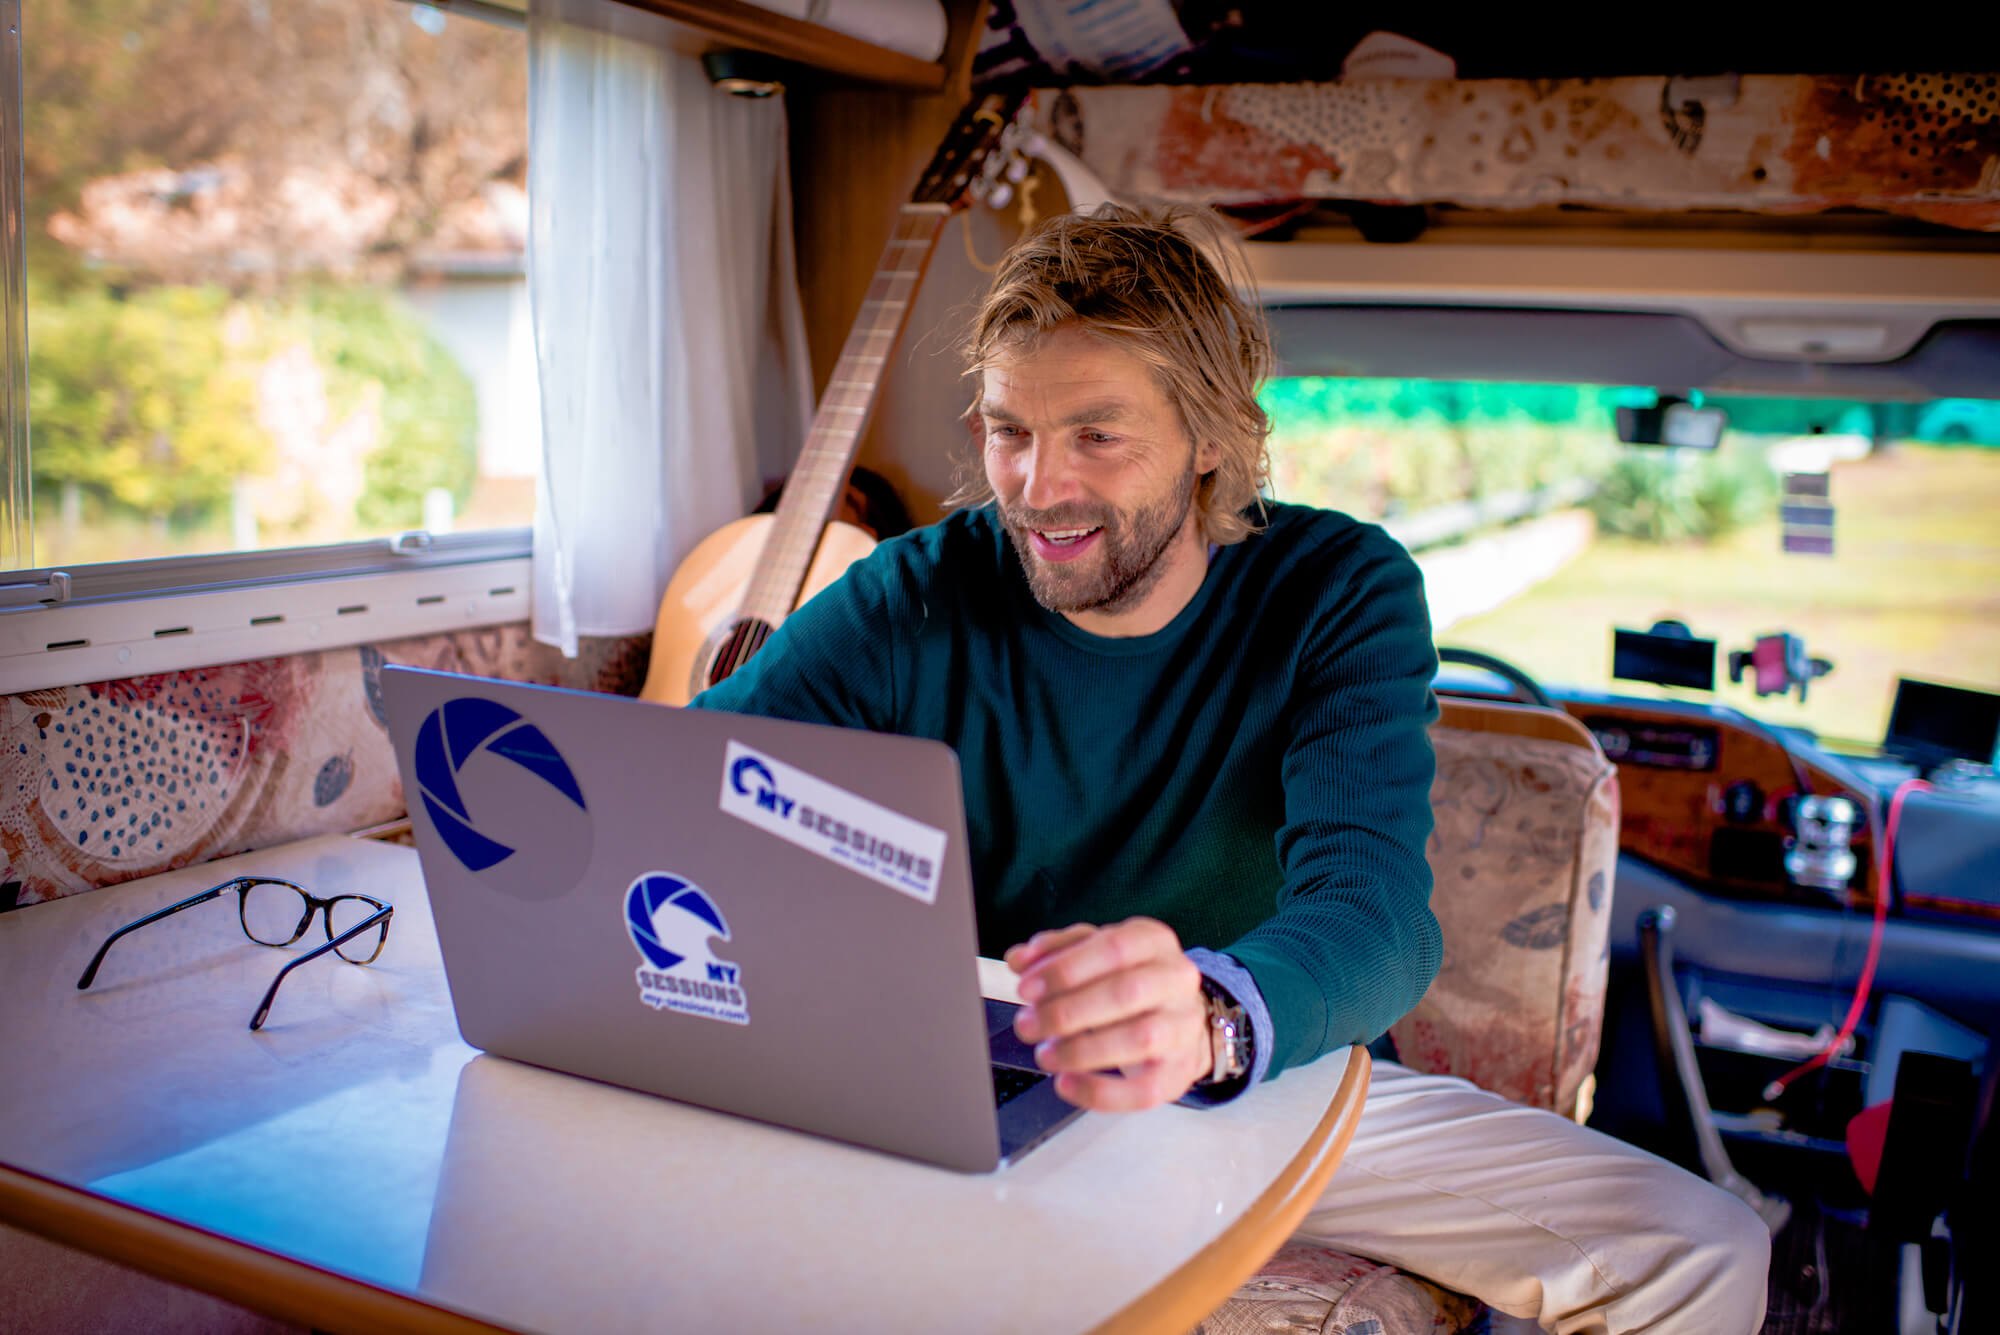
The principle is simple, show us who you shot with a simple photo, we will answer you if it is registered on My-Sessions or when it will be.
To obtain the best results, there are a few common sense rules to follow when choosing these photos.

Keep in mind a simple rule:
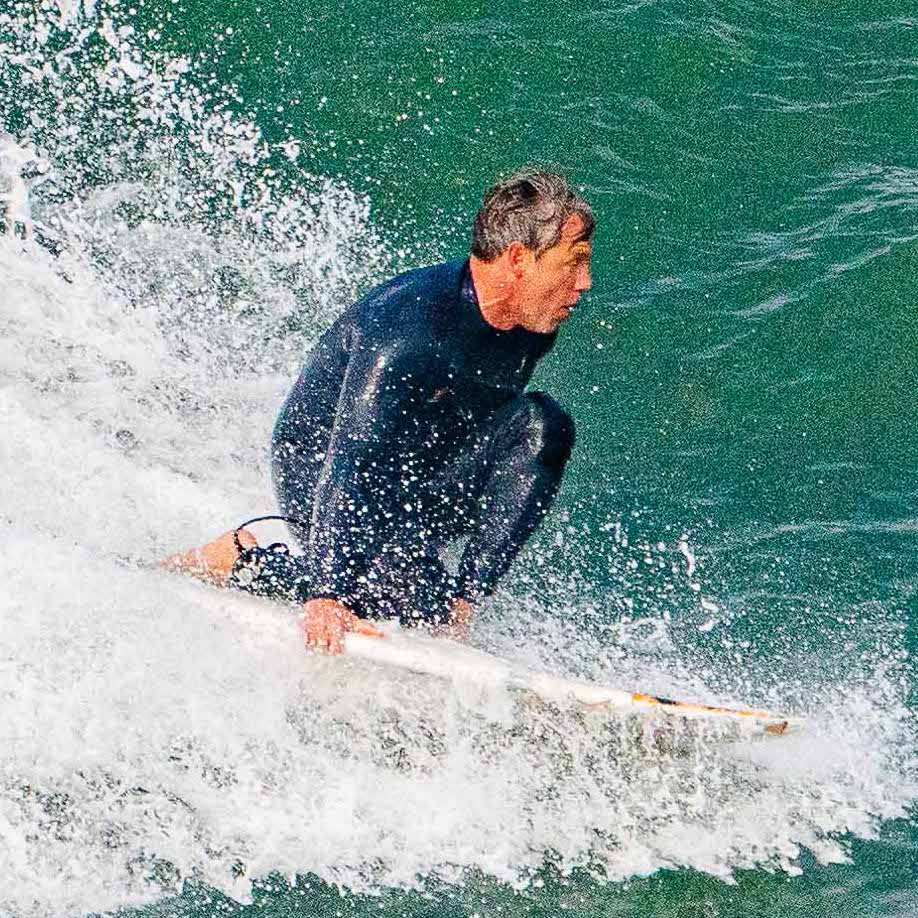
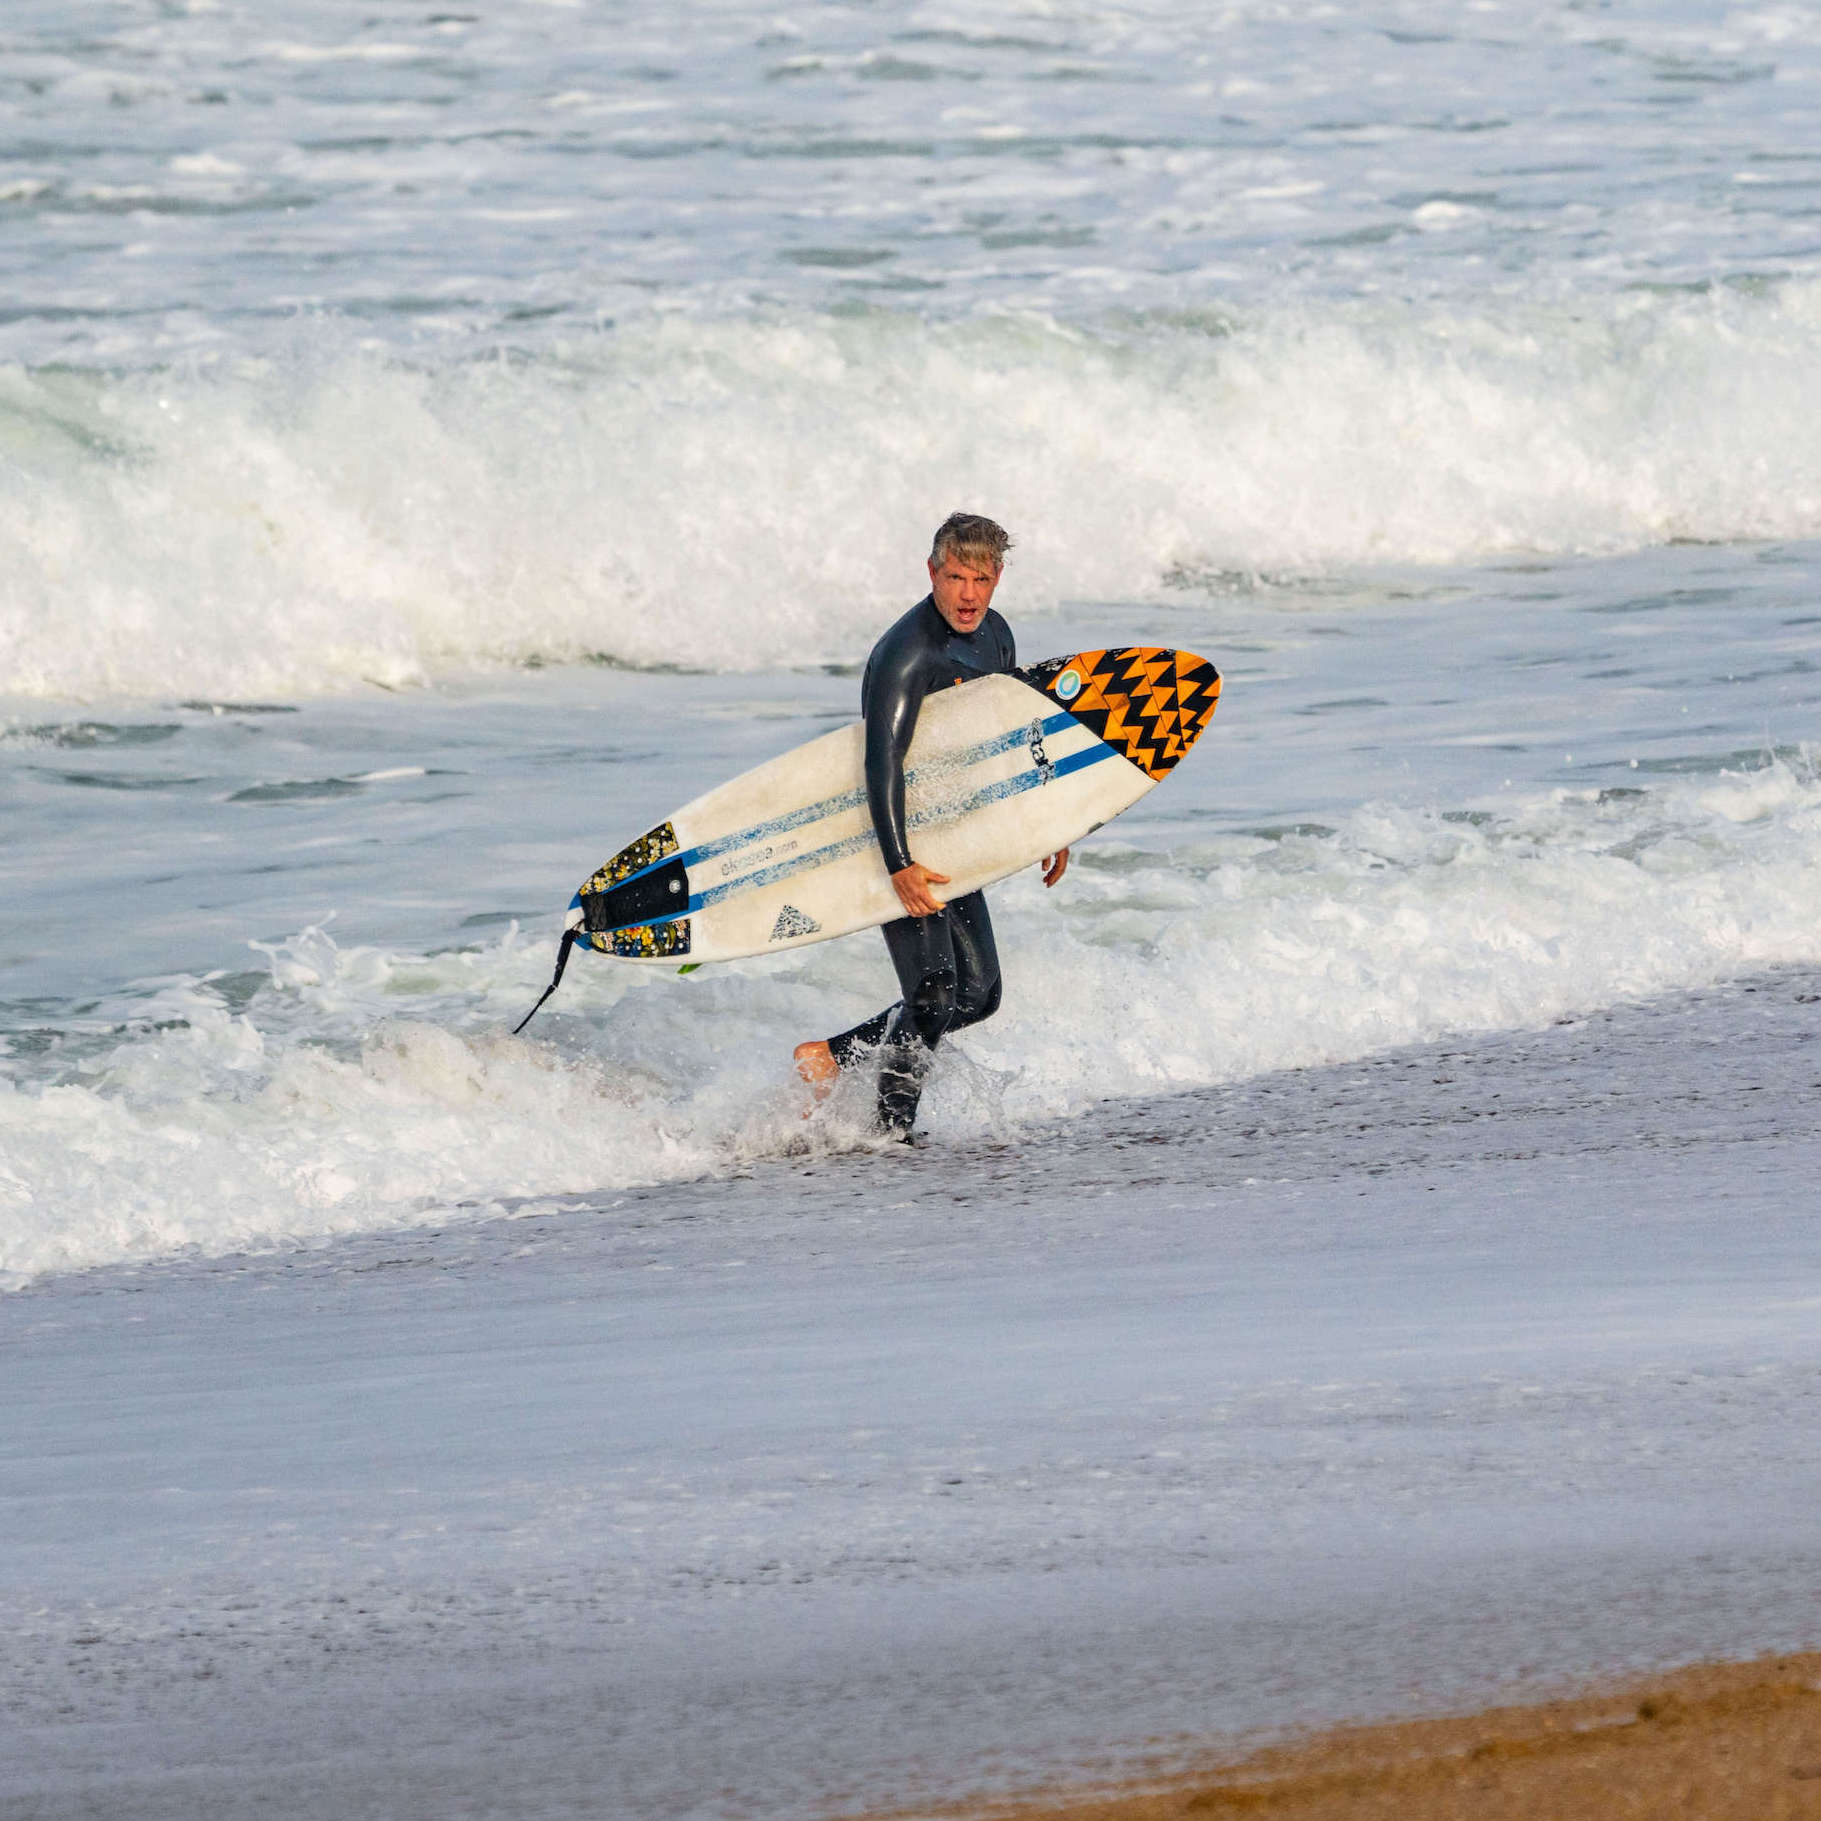
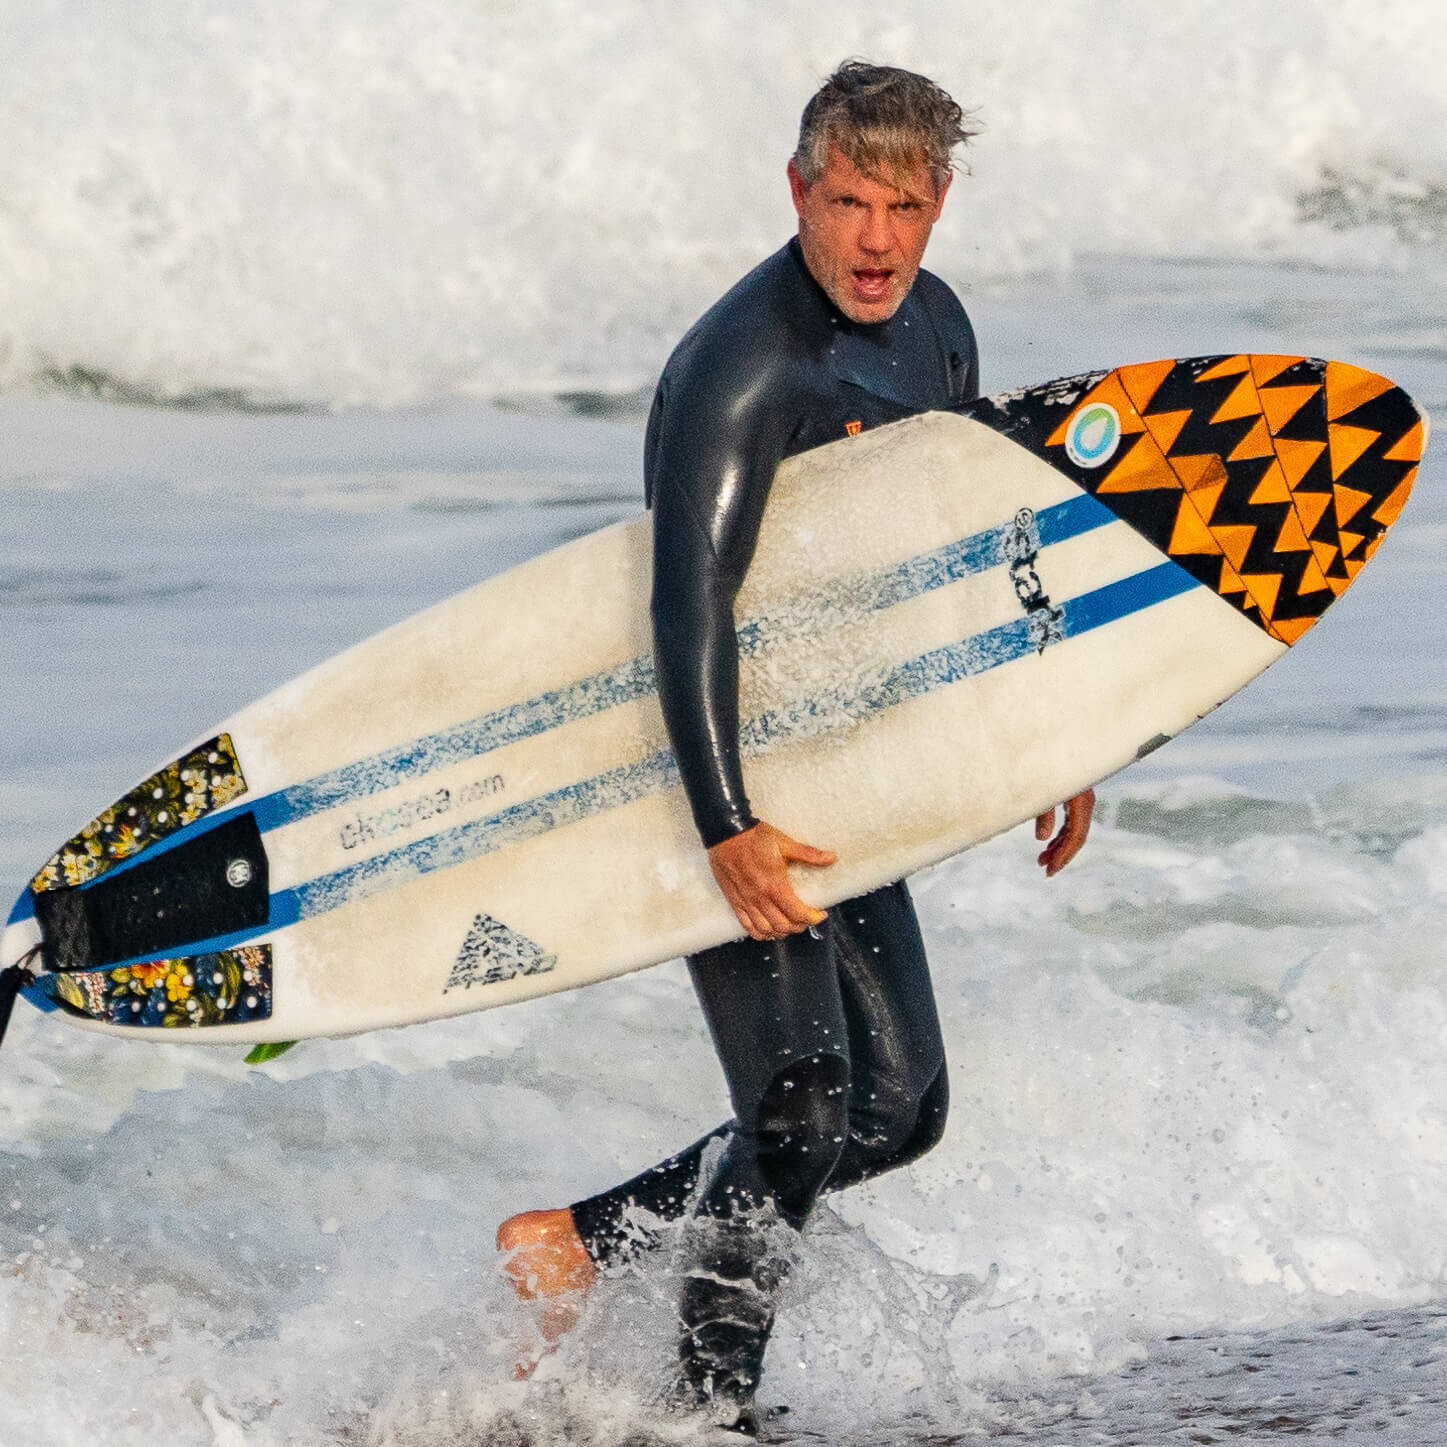
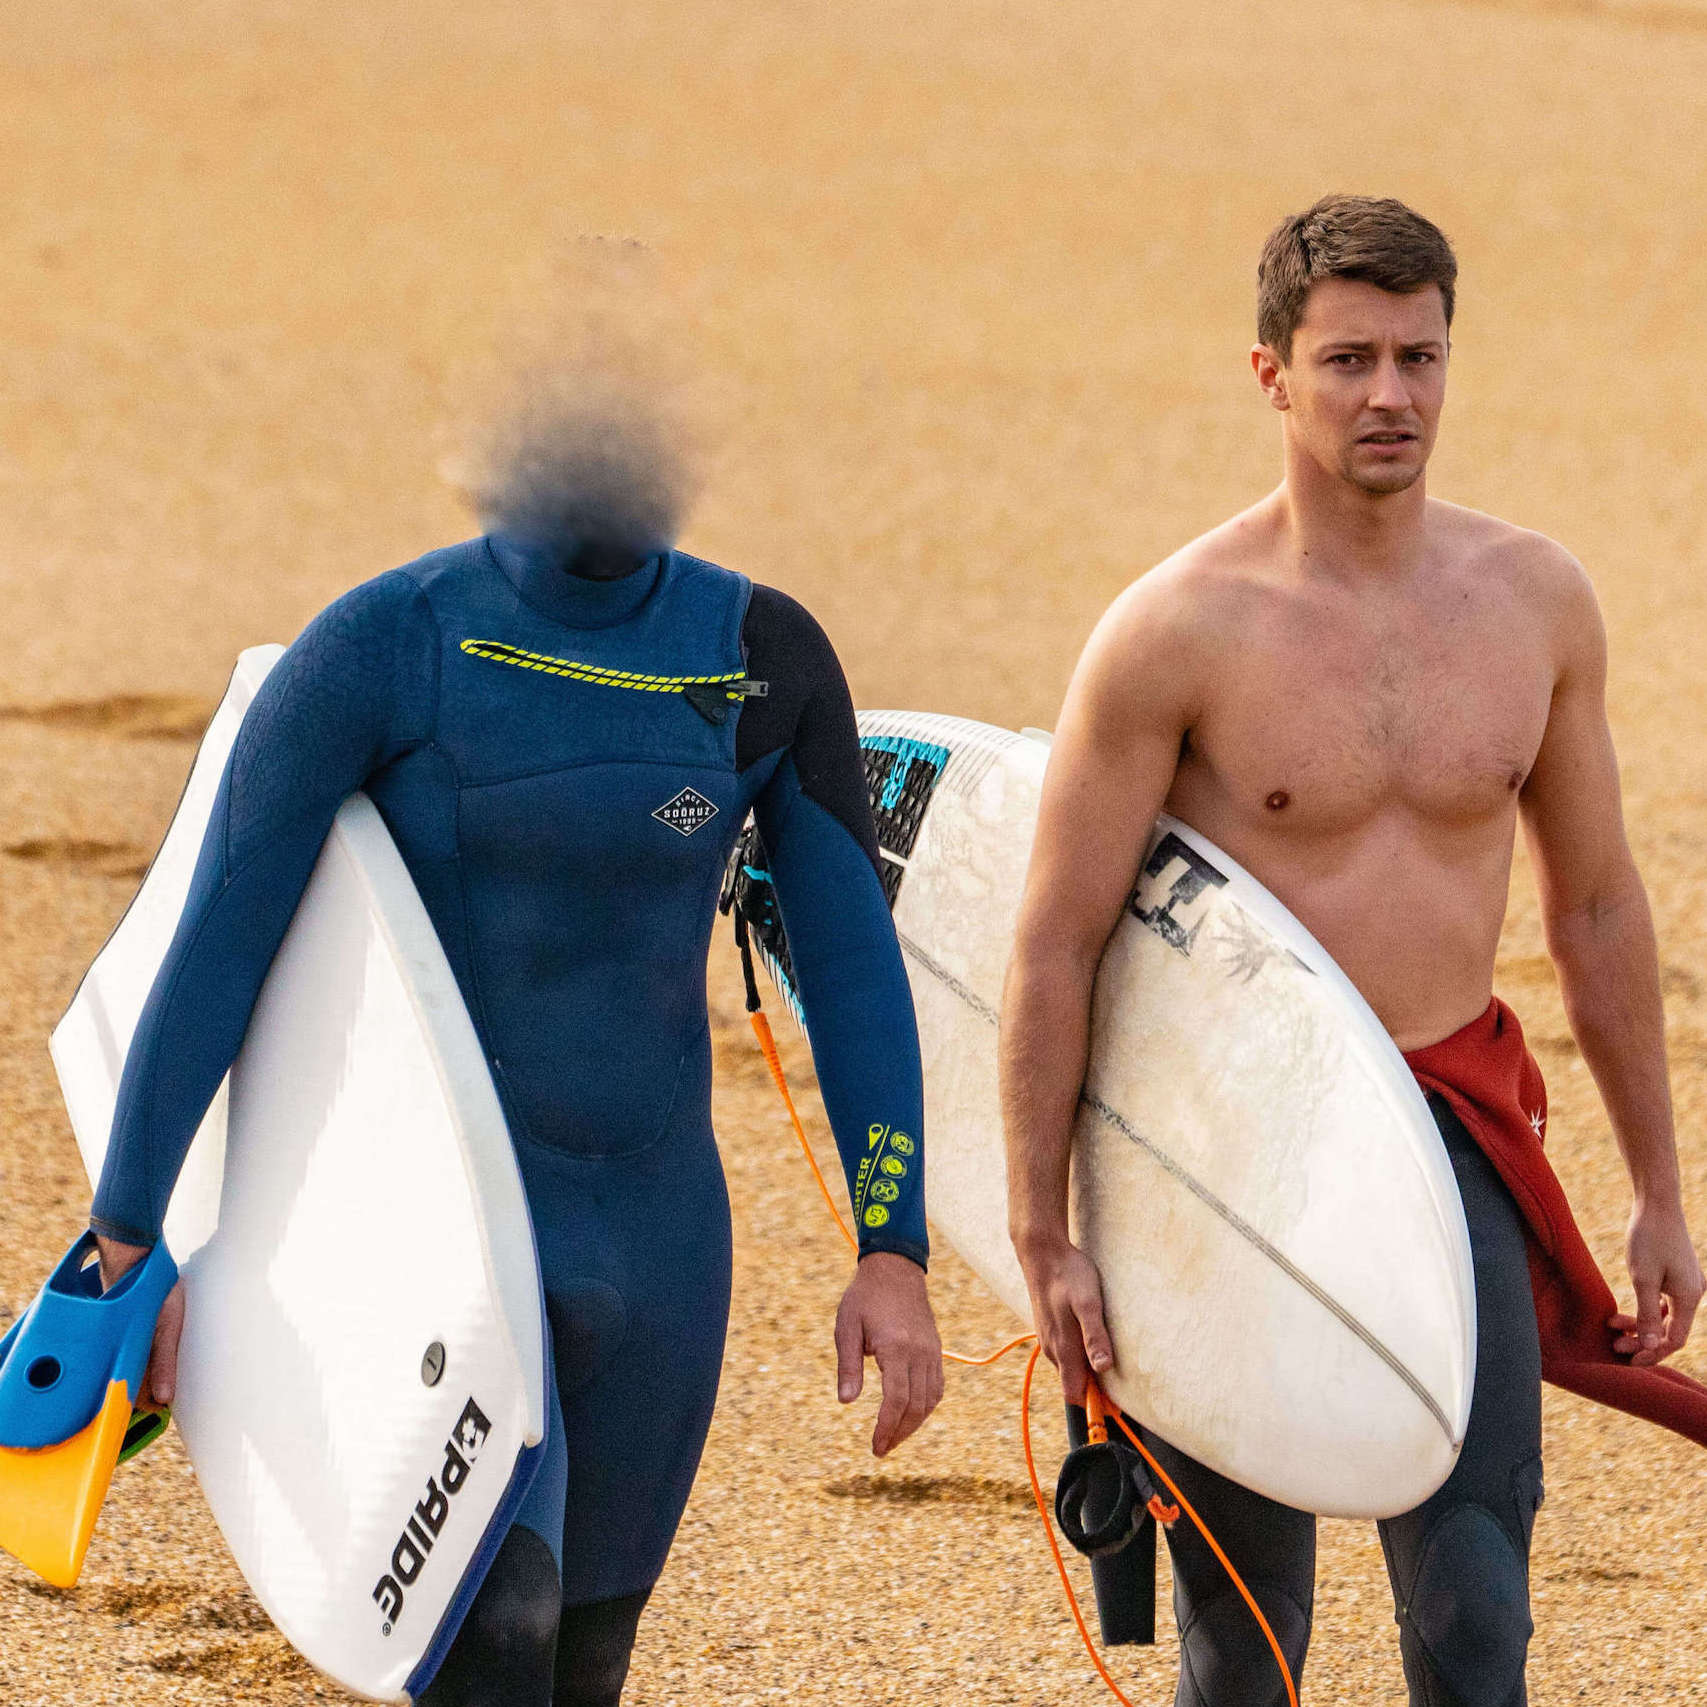
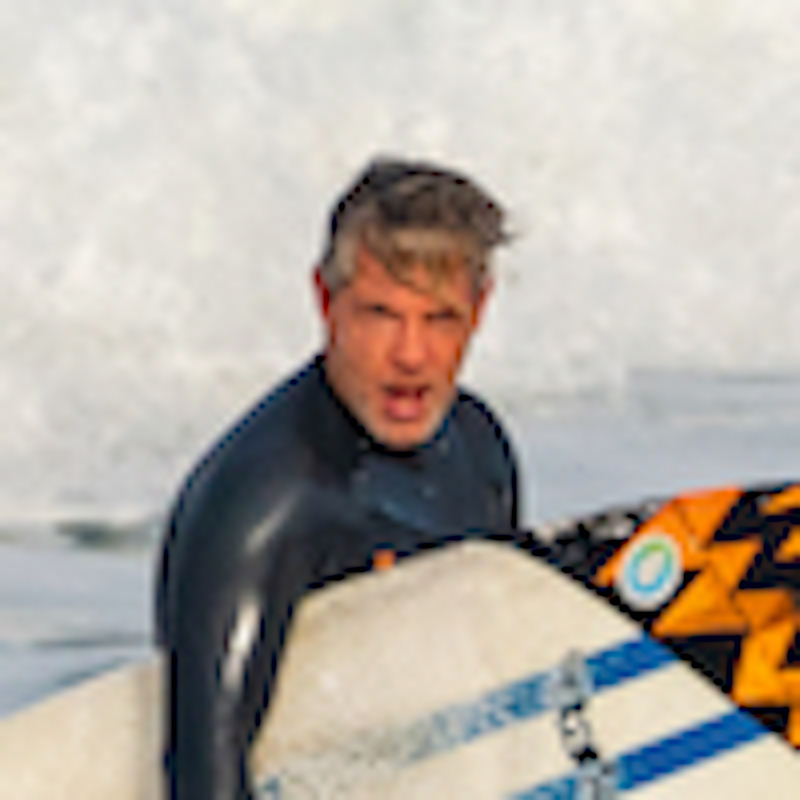
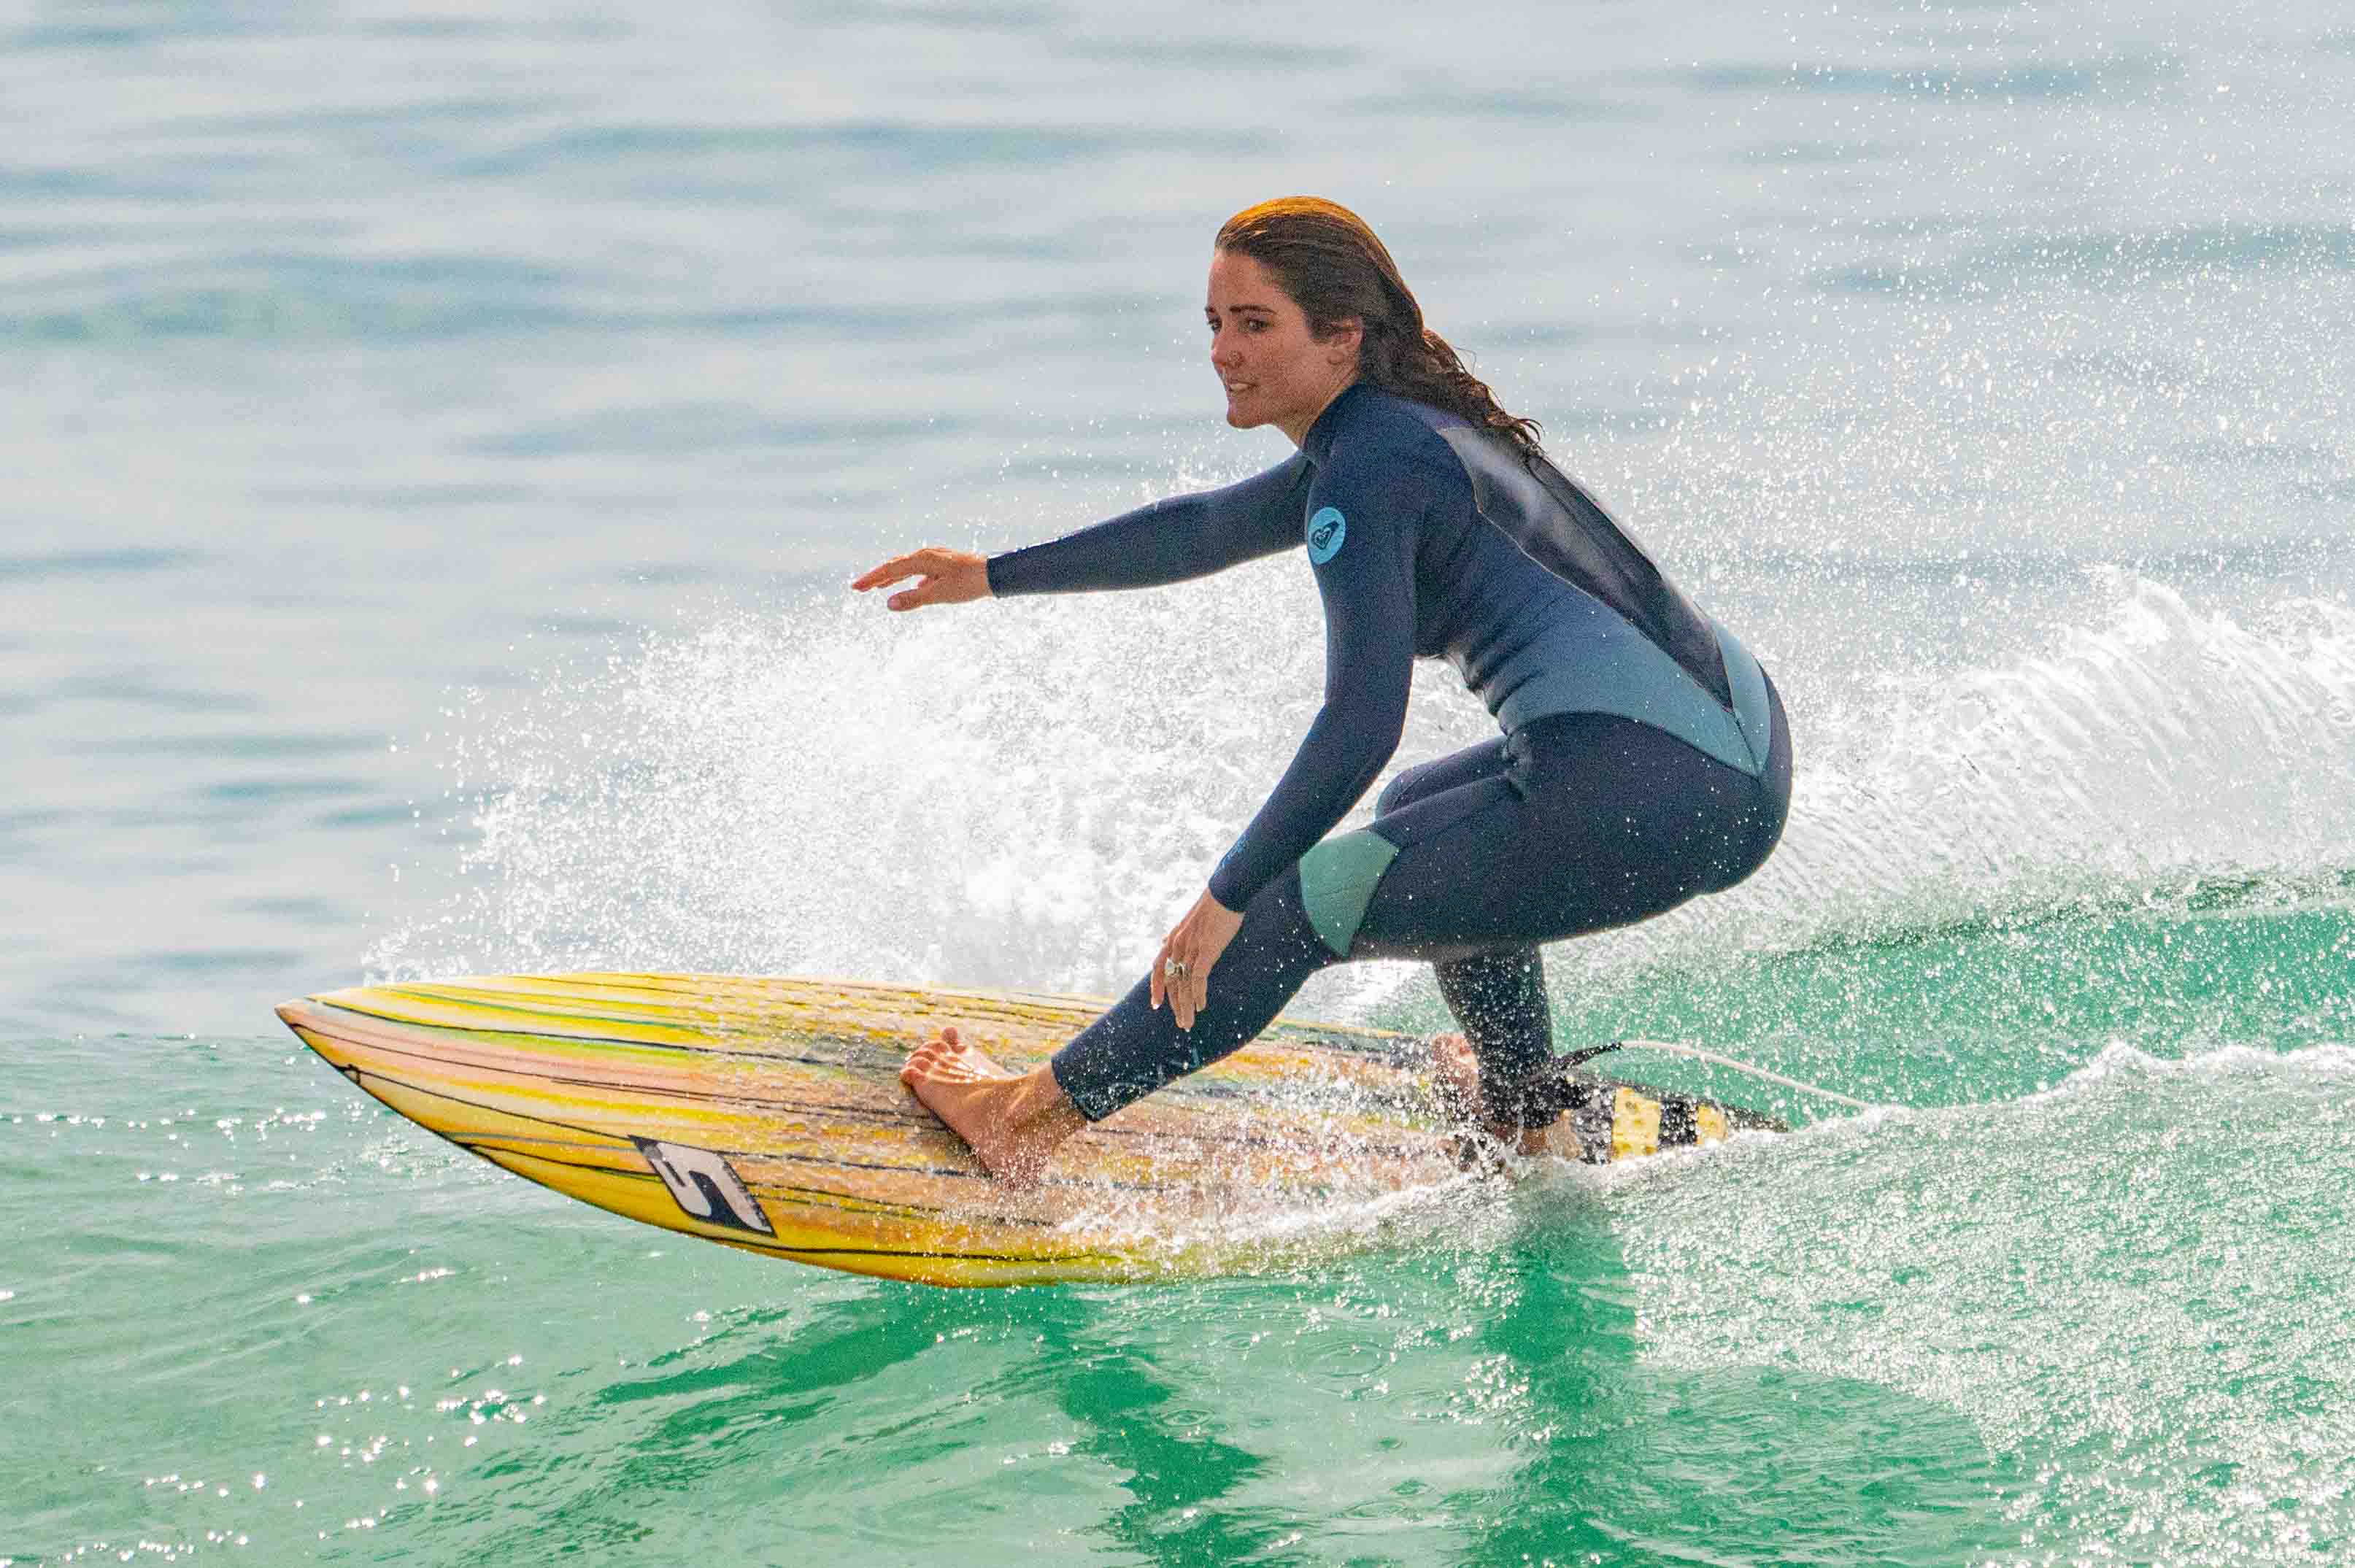
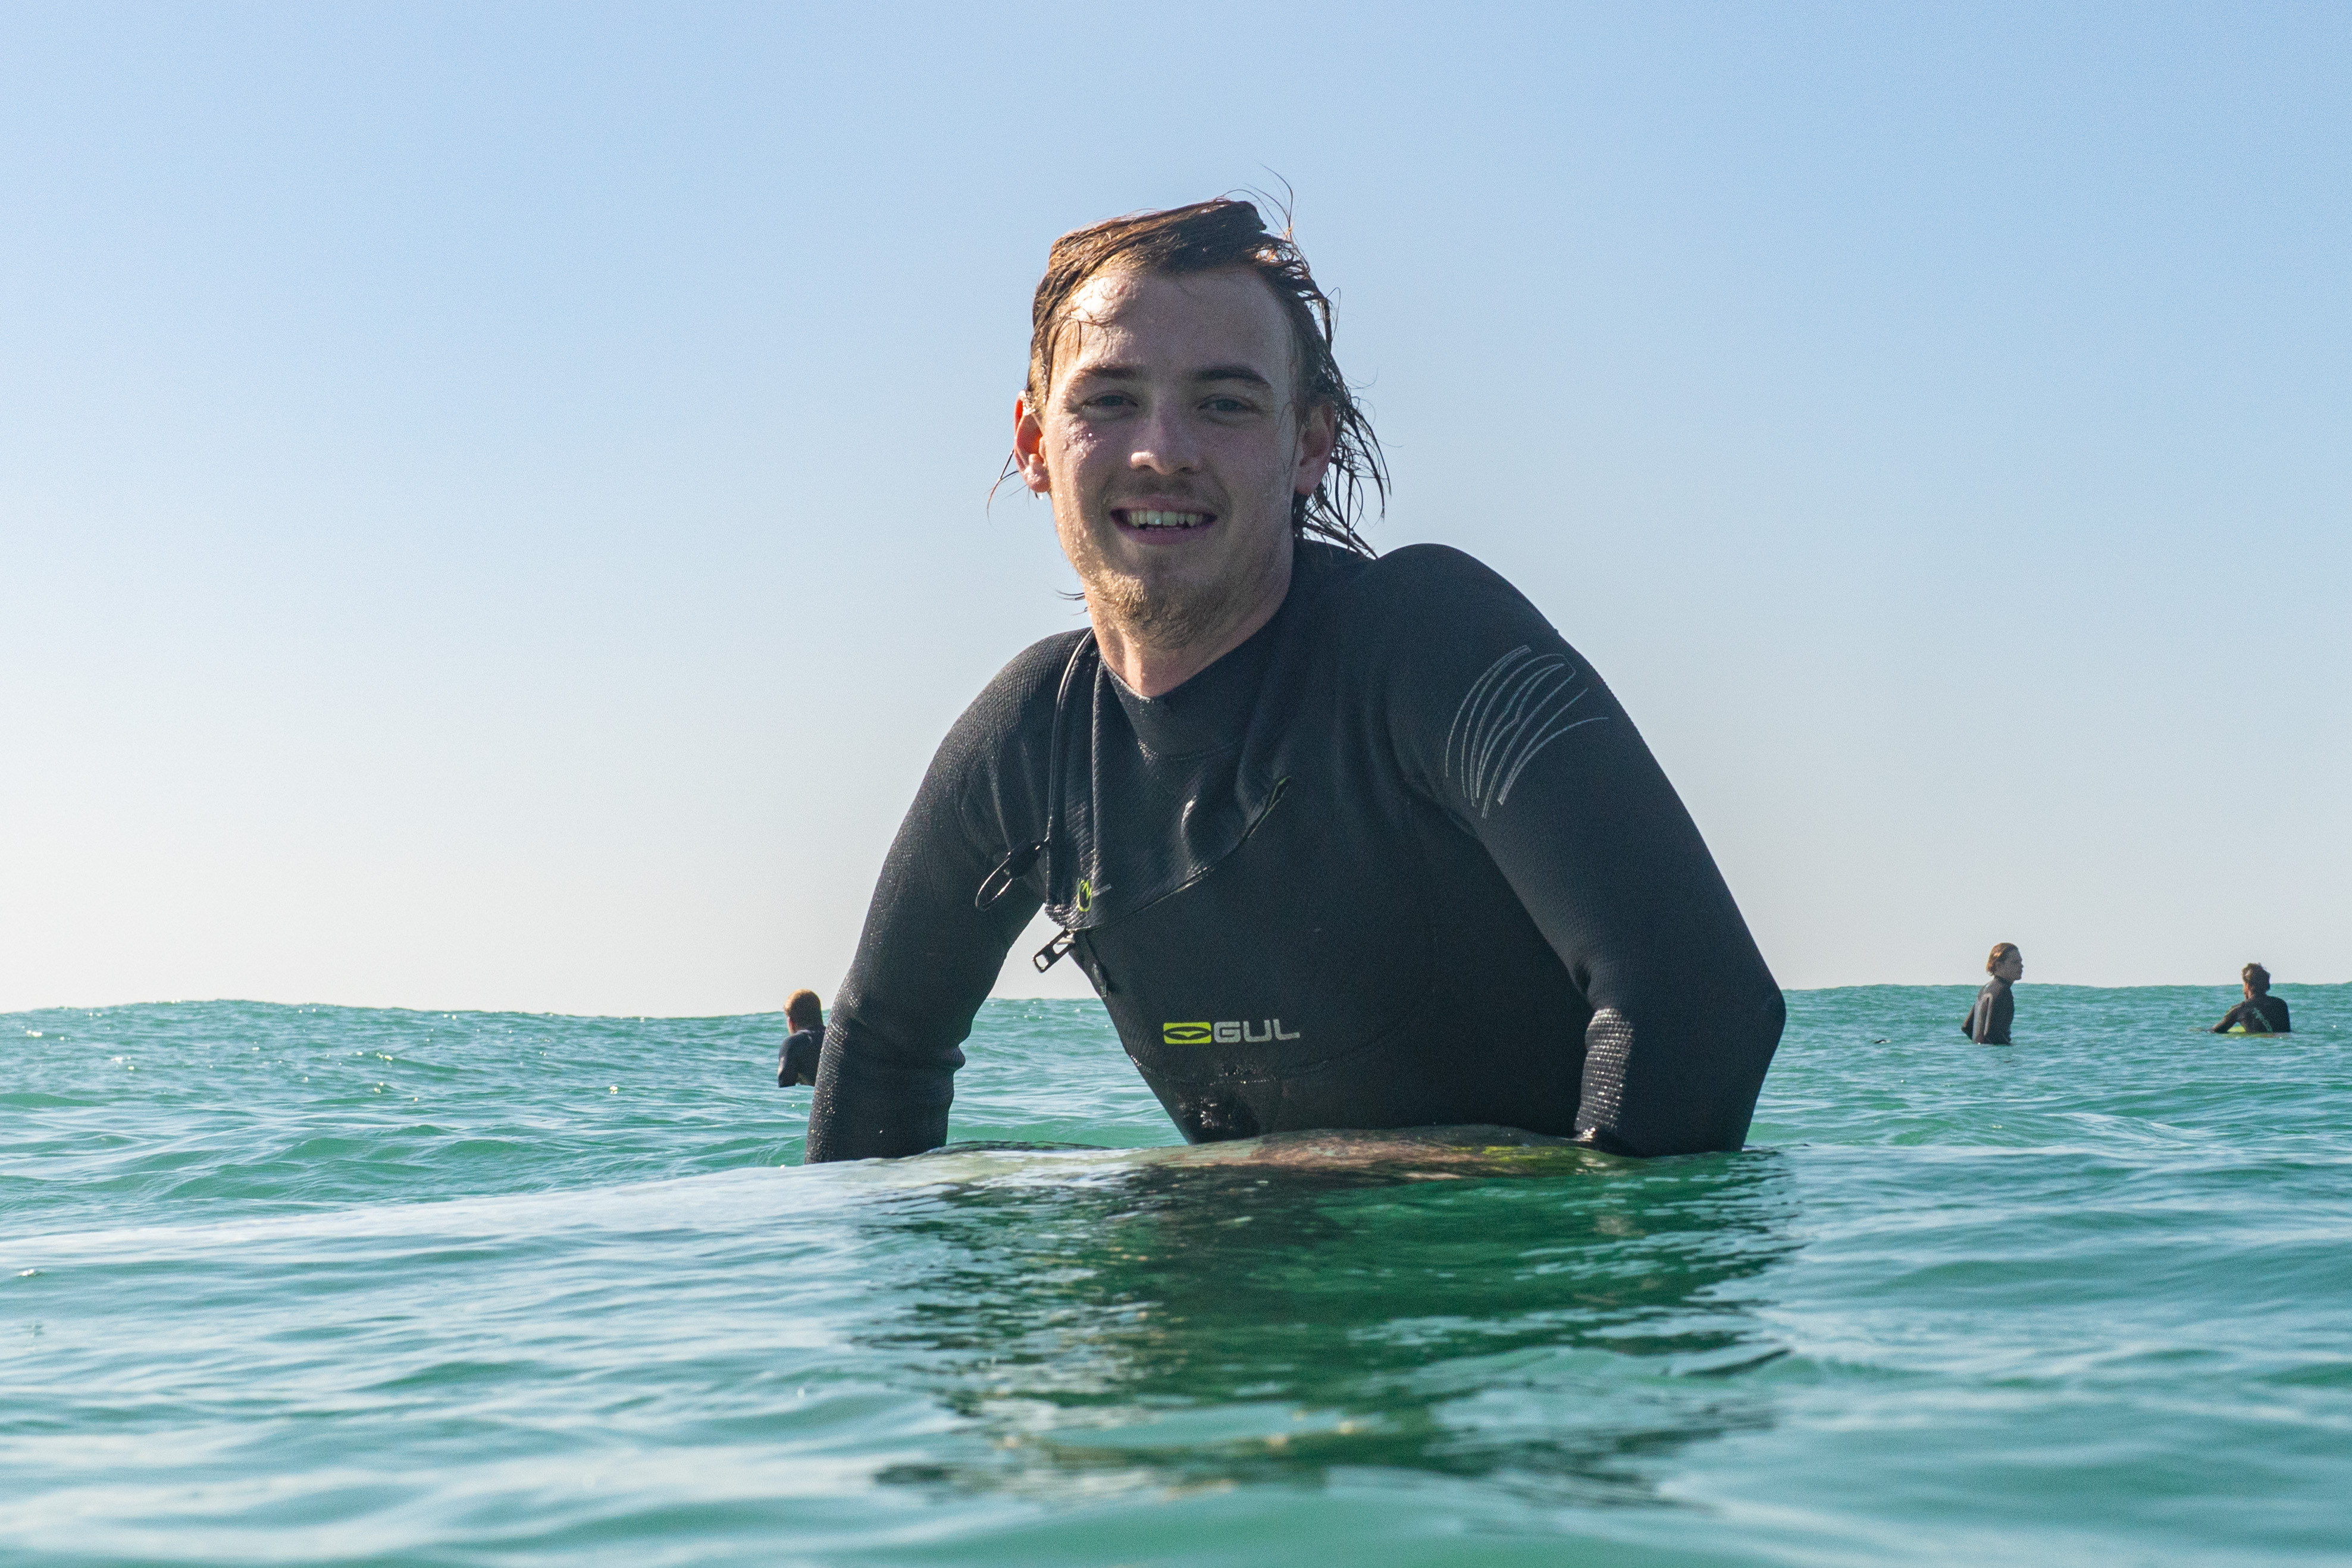
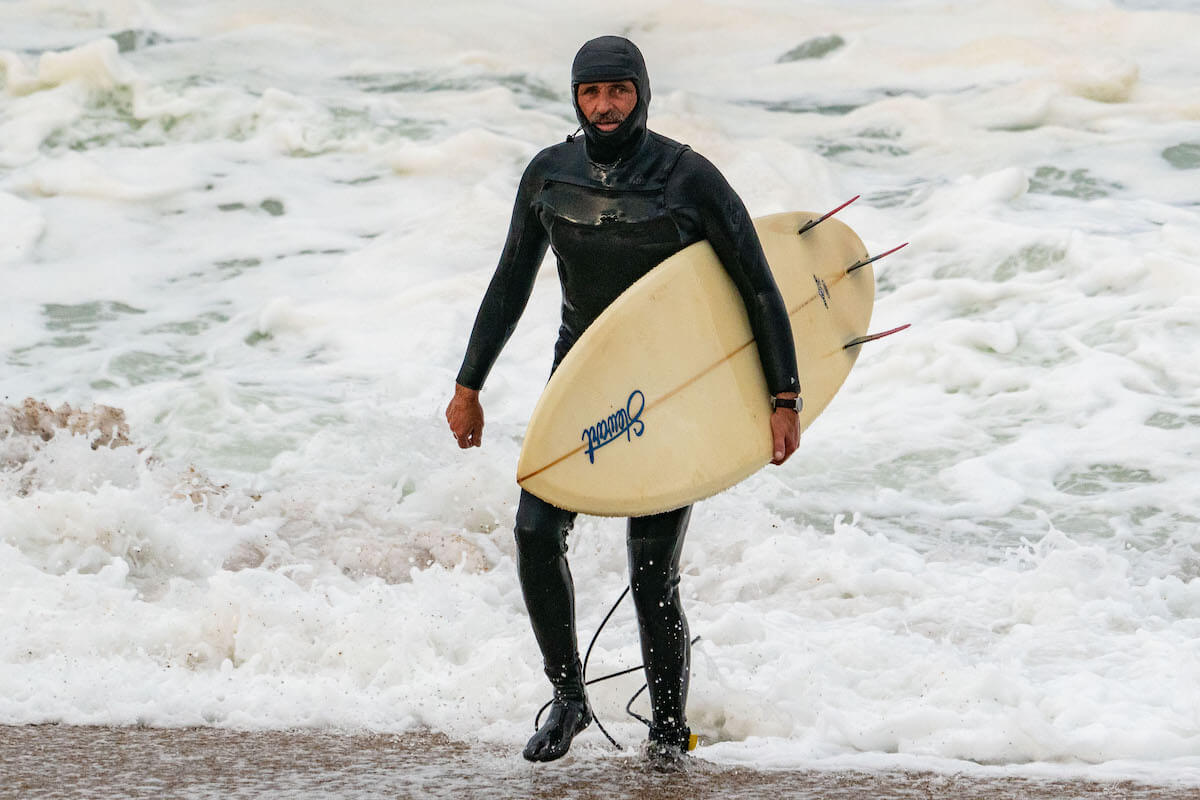
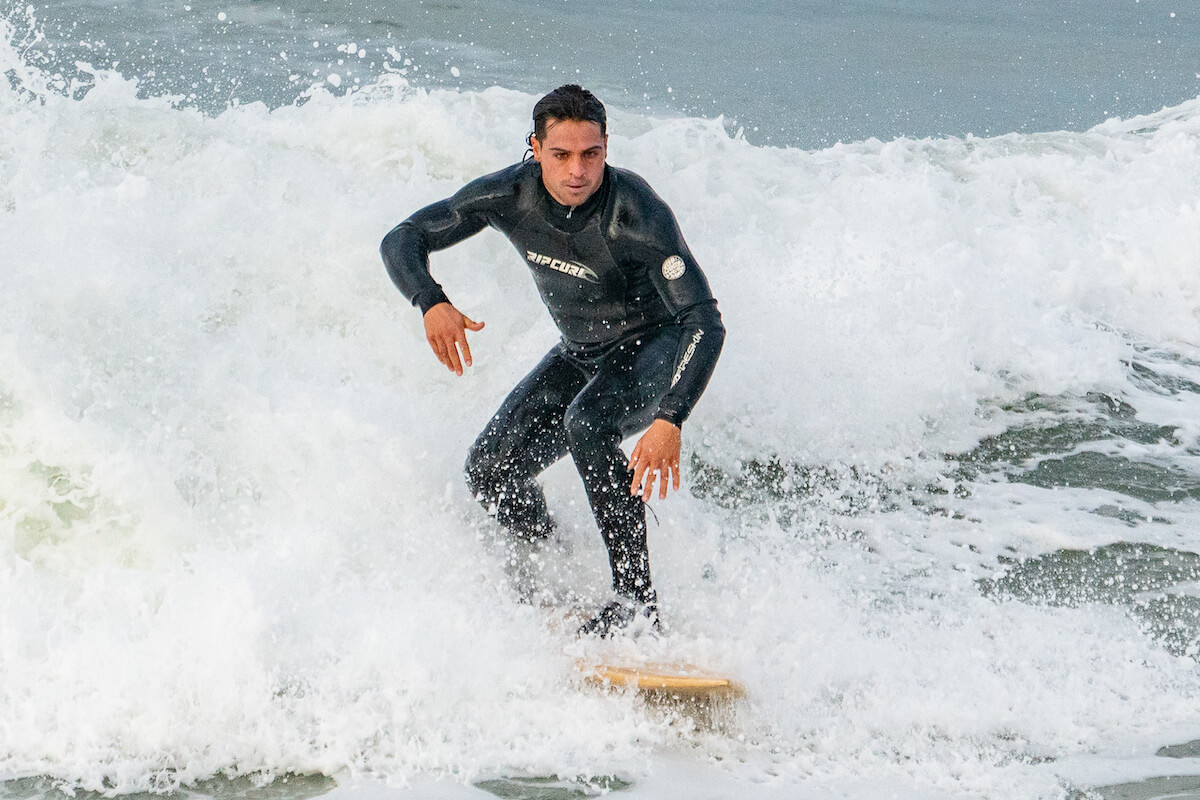
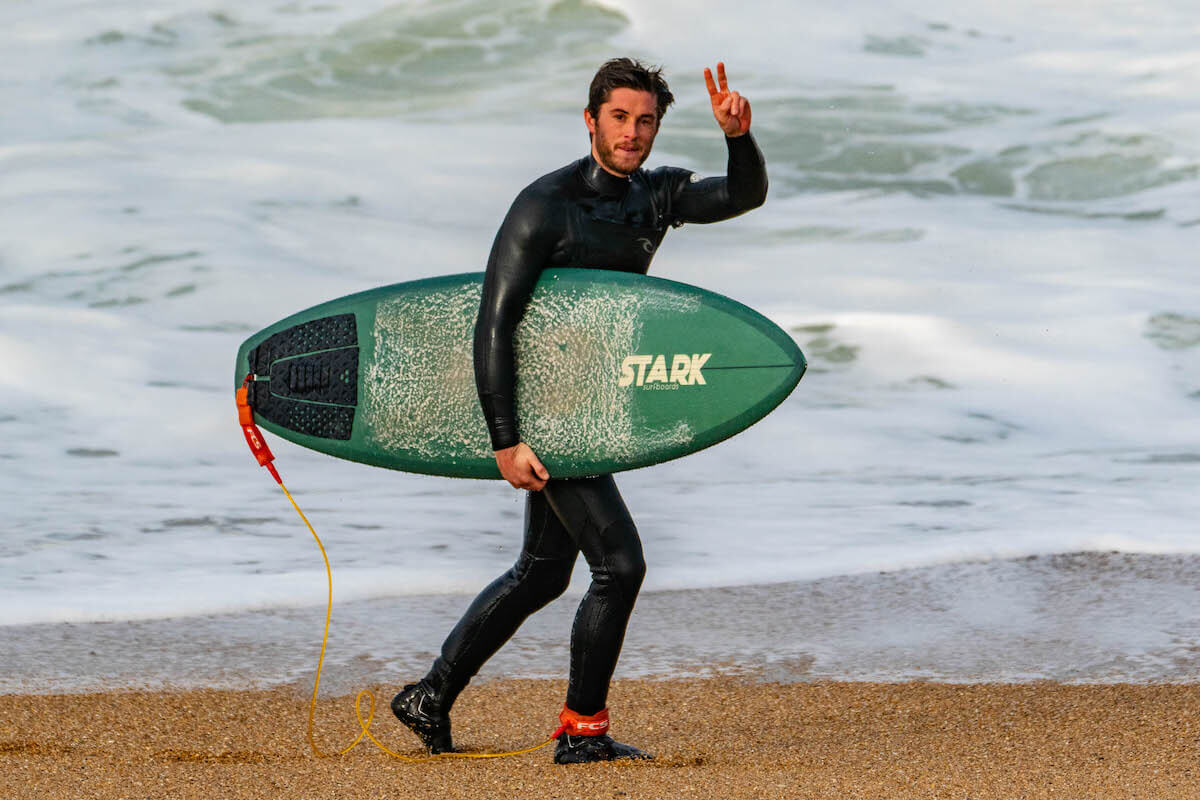
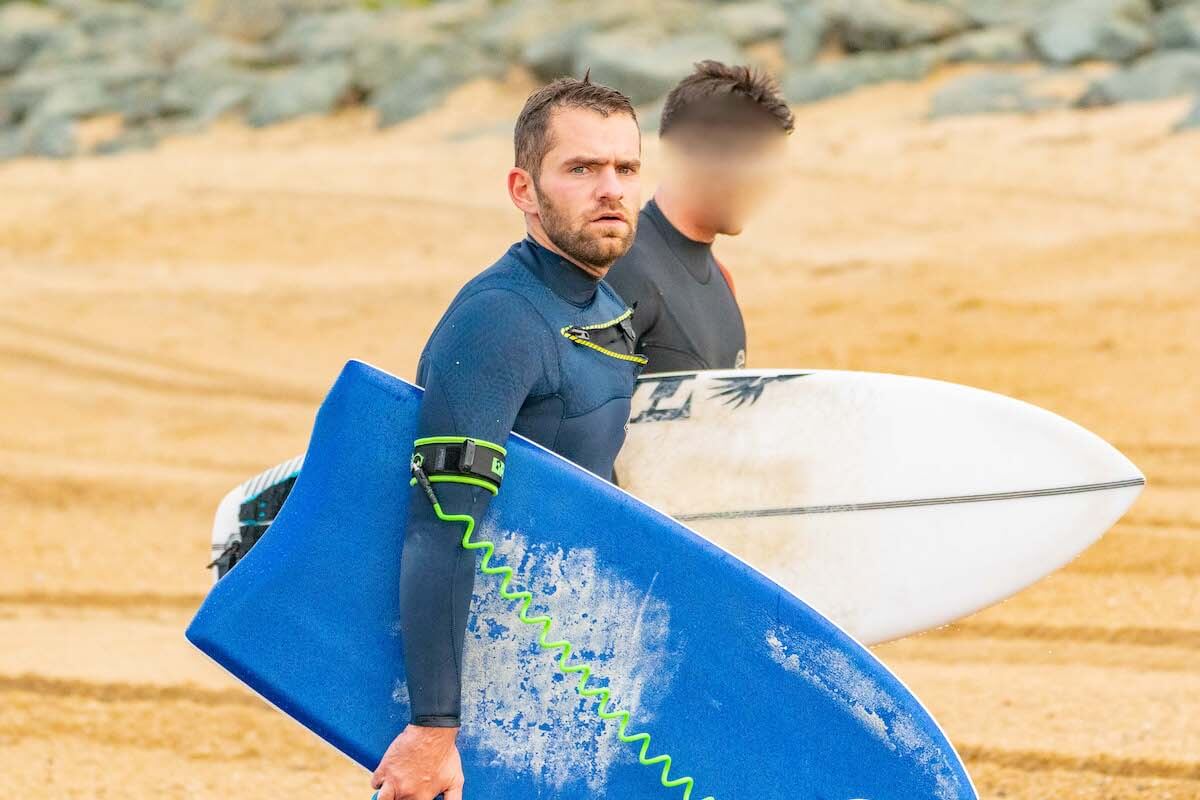
The sharper and clearer the photo you are, the better it will work.< br> If the photo is blurry, or the surfer's back ... The result will be more random.

No artistic approach here if you want to get \"Matches\" and send their photos for surfers, put the odds in your favor by following the recommendations below and the examples.

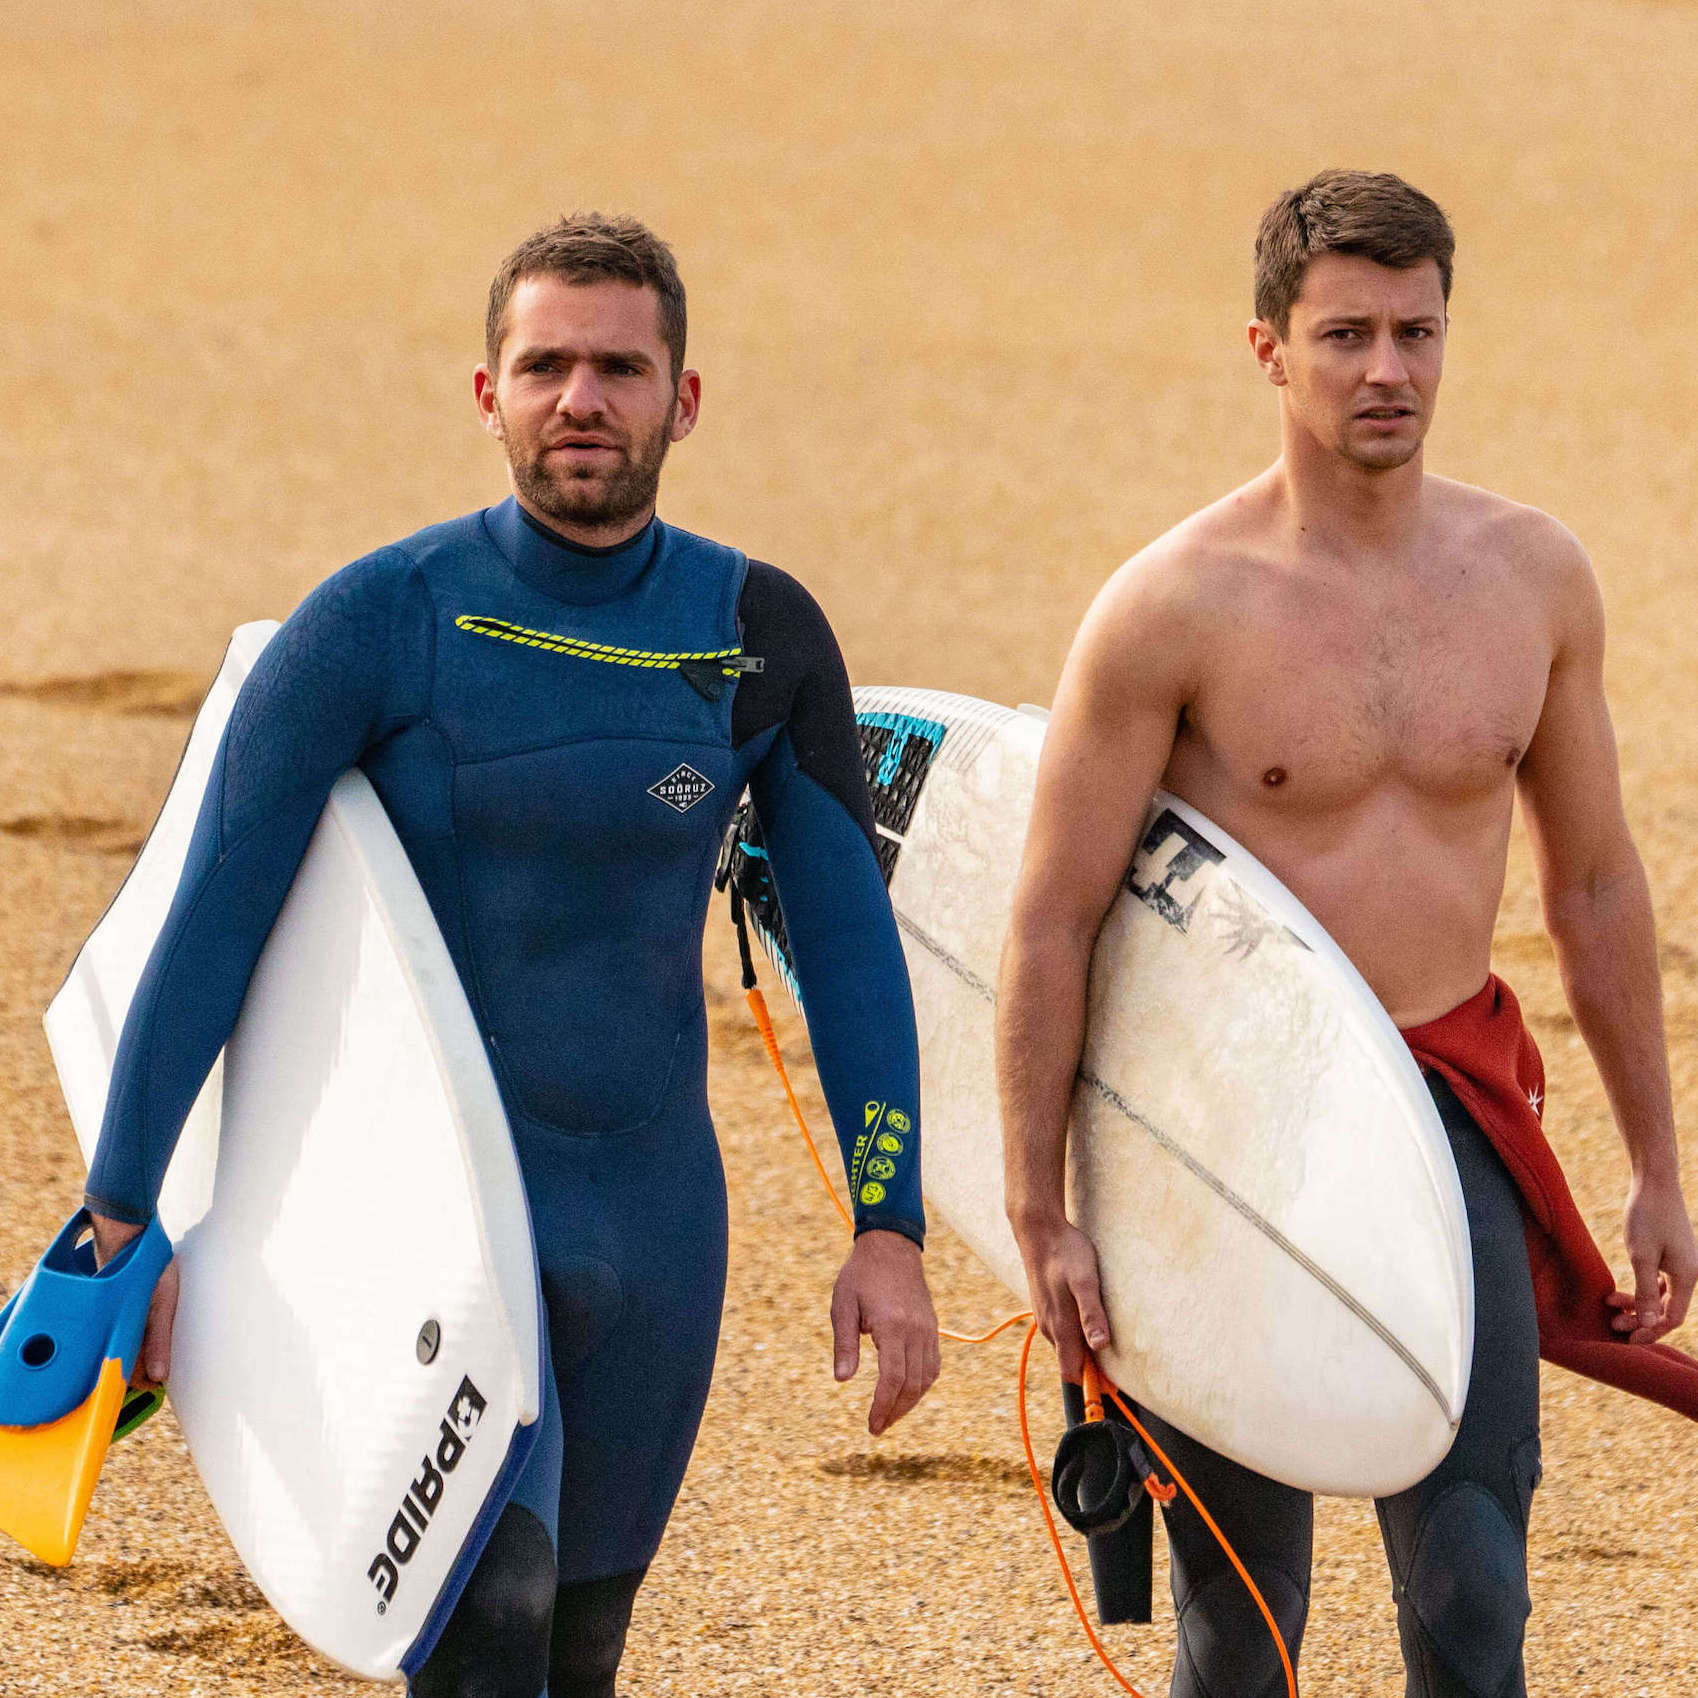
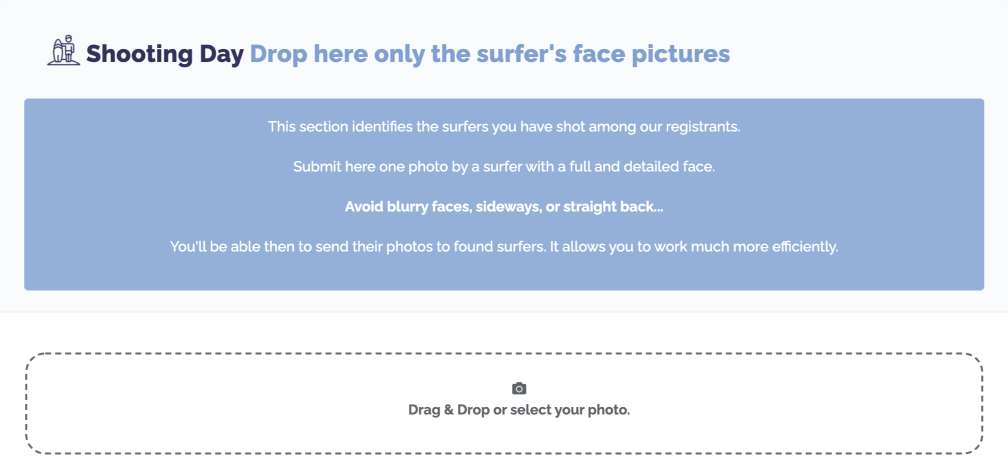
You only need one photo per surfer with their face clearly identifiable.

After you have selected and prepared the photos, the "Shooting Day" allows you to enter them very quickly in one go.

Photo selection is essential to effectively finding surfers.
Our process works great, but it's not magic.
To place all the odds on your side, follow these tips.

Show us faces from the front, faces in profile can work, but they must be very clear.

❌ Sideway face and poor definition.
✅ Full face with good definition.

Crop on the surfer from head to toe.
By doing this it will help you on several points.
Already you will better distinguish the surfers from each other because the photos will be more standardized. It will come in handy when you need to find their photos. The smallest detail on its board, its wetsuit, seeing its leash will be very useful to you.
Then, you will gain in definition if you crop from your native RAW file (or native JPEG), be careful not to crop a photo already exported (smaller than the original), you won't be able to make up for what was lost in resolution.

❌ Avoid surfers too far in the photo
✅ Crop on the surfer from head to toe.

Only one surfer per photo.
It seems obvious, but show only one surfer per photo so that we know which one to find.
You can hide the other faces with different means, crop, cover, blemish removal tool.

❌ No more than one face per photo
✅ One face per photo.

Avoid pixelation.
To avoid picture's pixelation two things to take into account.
First as mentioned above, crop on the surfer from head to toe from your original RAW file (not a file already exported / compressed).
Second, export this file in high resolution, set to 300 ppi (pixel per inch) minimum and 5MB maximum when you export the files as JPEG.

❌ Avoid pixelation
✅ High definition

Once you've selected a face picture for each of the surfers in the session, and they're re-shot, you get a surfers' clipboard like below.
This is a great example of what is requested for a Shooting Day.
Exports all these photos in JPEG of less than 5 MB in a folder dedicated to this session.

The Shooting Day can be found on your Activity page.

Start by providing the session info.
If a spot is not listed, you can use "Unlisted spot " in the list (this is the first). You can also contact us (via the contact form) if you want us to add a spot to this list.

Once the information has been provided, you just have to drop the prepared files in the area provided.
They will be immediately sent to the server, during the process, you may receive a few e-mails if you have matches.

At the end of the transfer, the result is presented in the form of a list.
If, as in the example below, a surfer appears several times, you have submitted several photos of him. You just need to delete one of the two duplicate sessions.

You can check the matches here, but the easiest way is to go back to the Photography page.

Tip:
During the shoot, take pictures of the surfers when they come in or out of the water.
Same in Aqua shot, when they come up on the line up, or wait their turn.‍
It guarantees that you have the shot you need to show them your photos.
Here are a few examples, note that all these photos are cropped on the surfer from head to toe.

A little sideway but it works, if the photo is clear.
Aquashots? no problem.
Hood and Mustache
=
Recognized and sold
In action
He understood everything!
Only one face per photo.